Introduction:
In this article, I would like to share my experience with RV restoration and talk about the difficulties I encountered in the process. You will learn how I successfully dealt with unexpected problems and achieved a positive outcome in the end.
RV Damage:
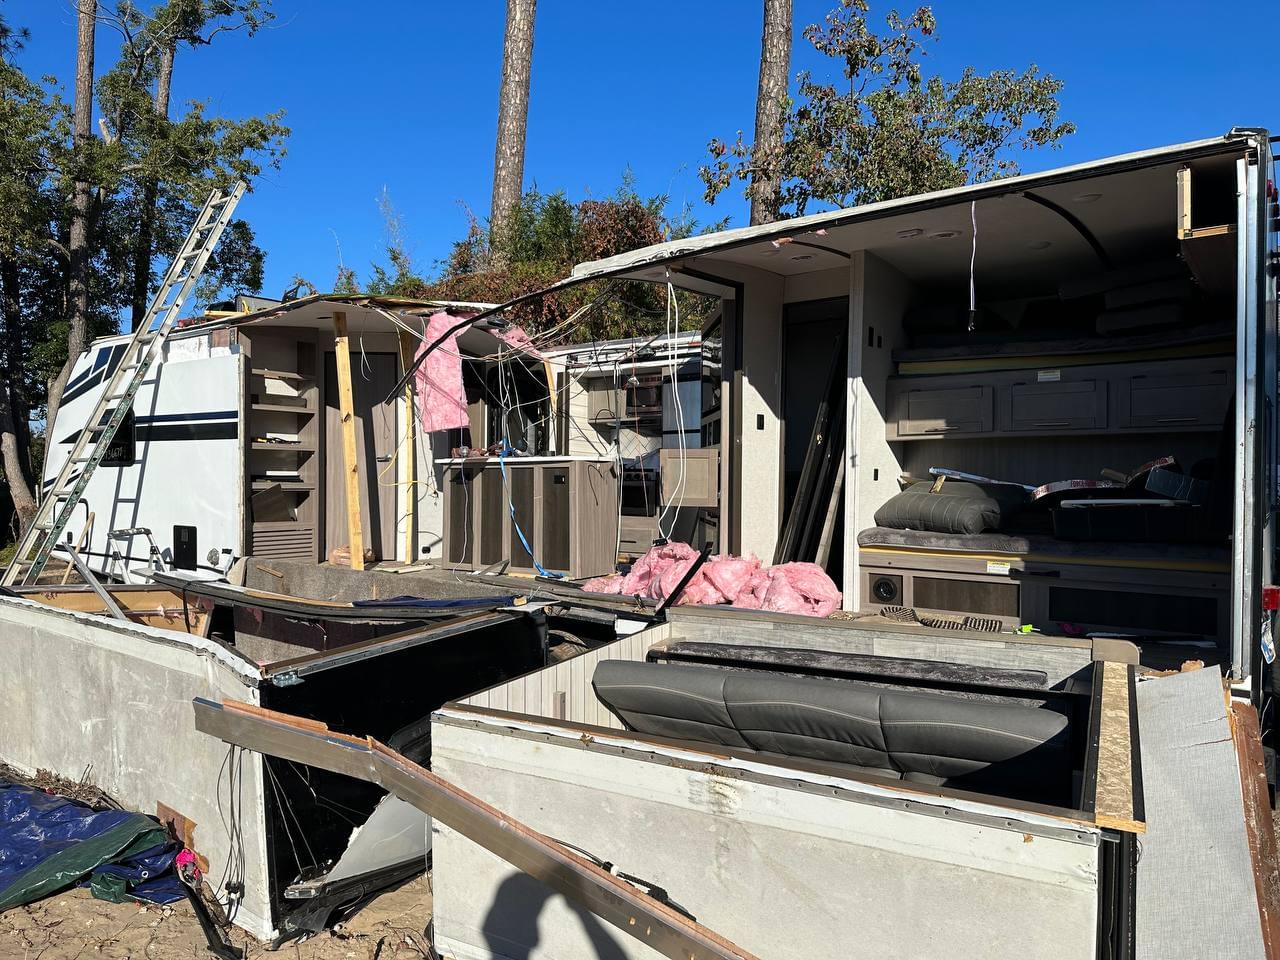
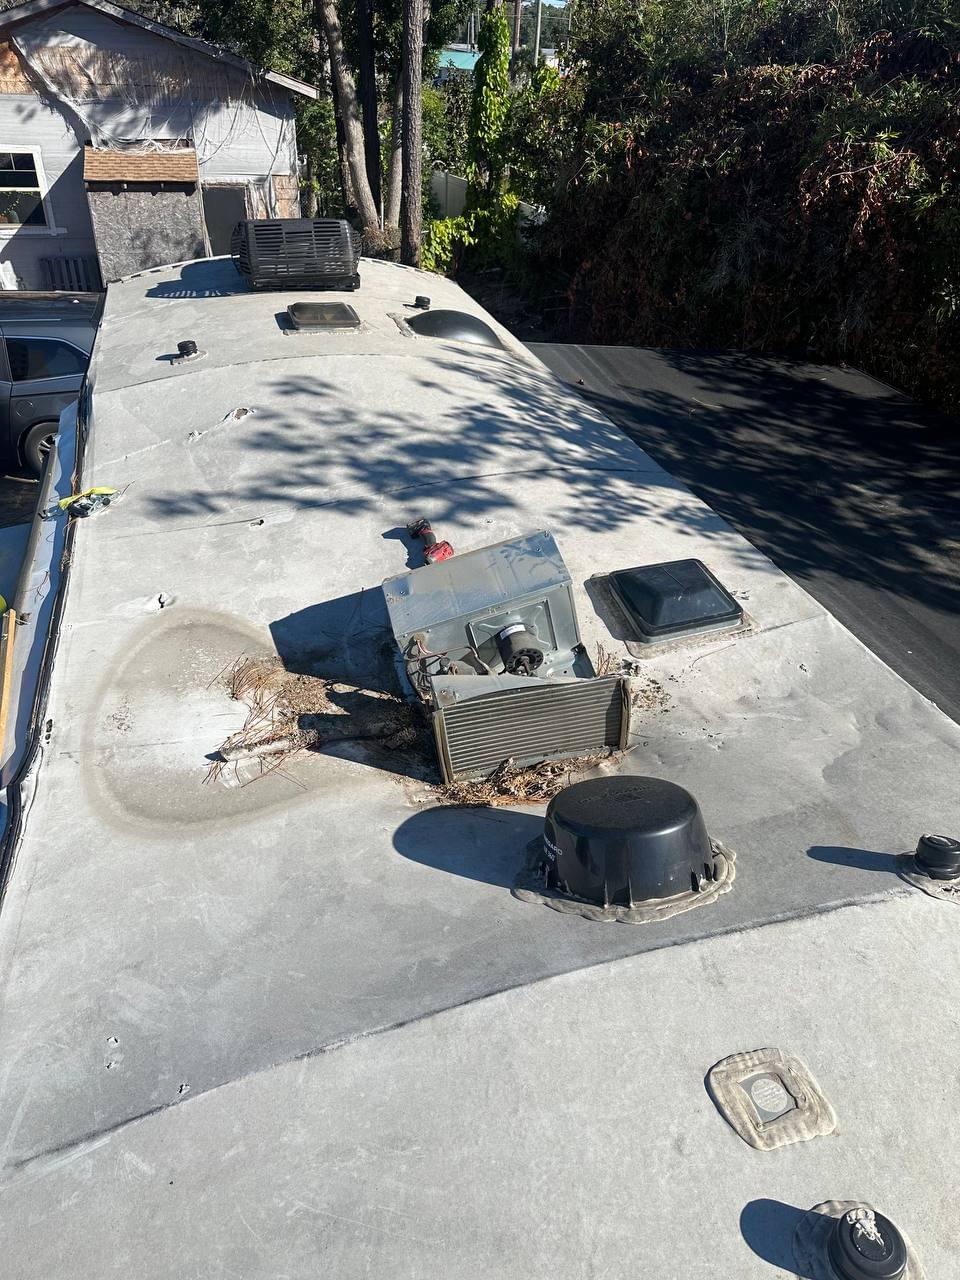
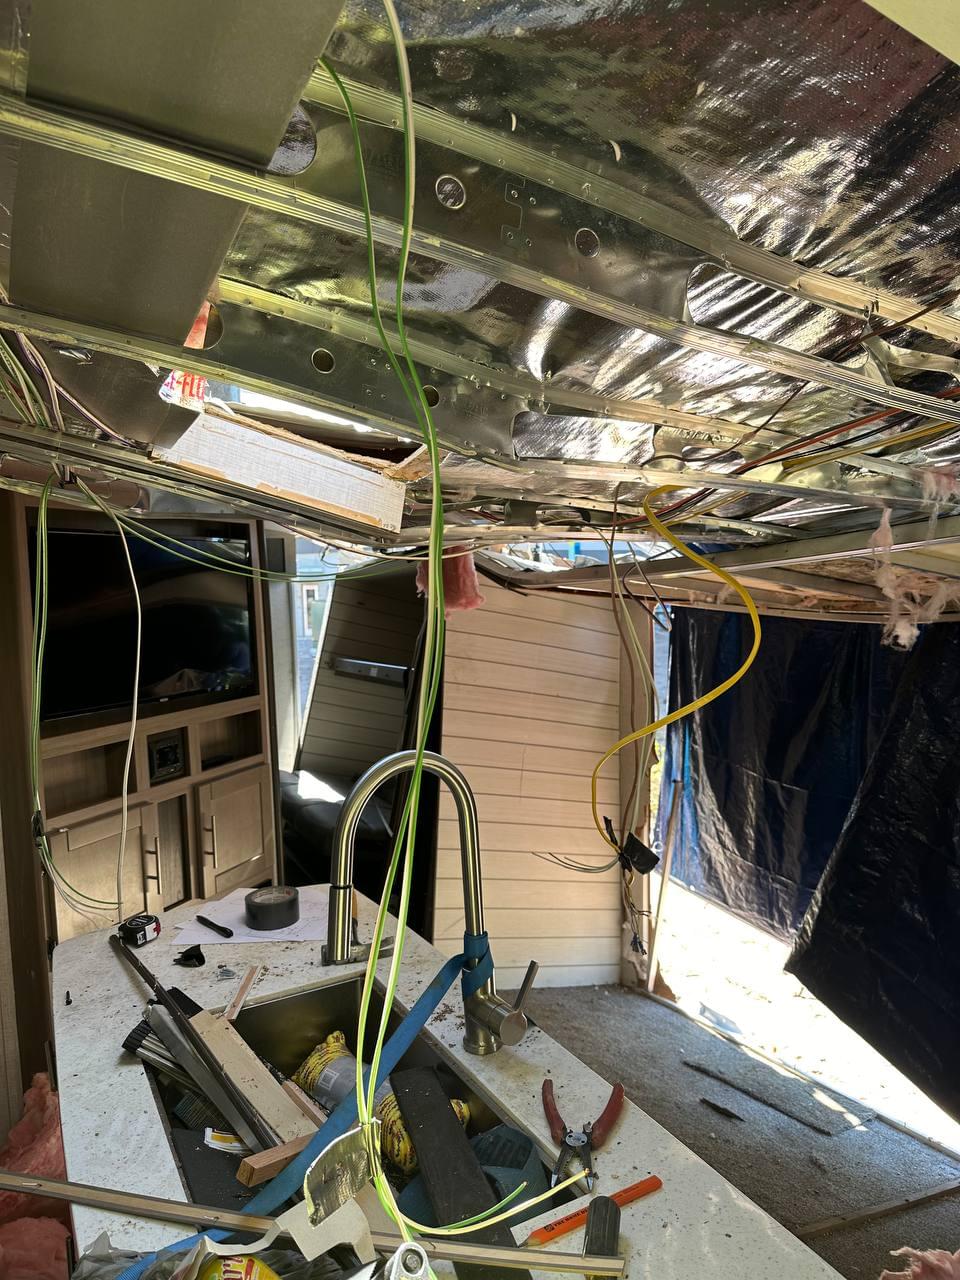
Let's start with a description of the damages the RV suffered after a tree fell on it. Upon impact, a third of the roof was completely destroyed, and the left side, including the mechanisms of the slide-out sections, was damaged. The air conditioner sustained severe deformations, and the windows were damaged and required restoration. Additionally, all the wires and air ducts passing through the roof were damaged. This created numerous challenges in the process of RV restoration and required additional efforts and resources.
Roof Repair:
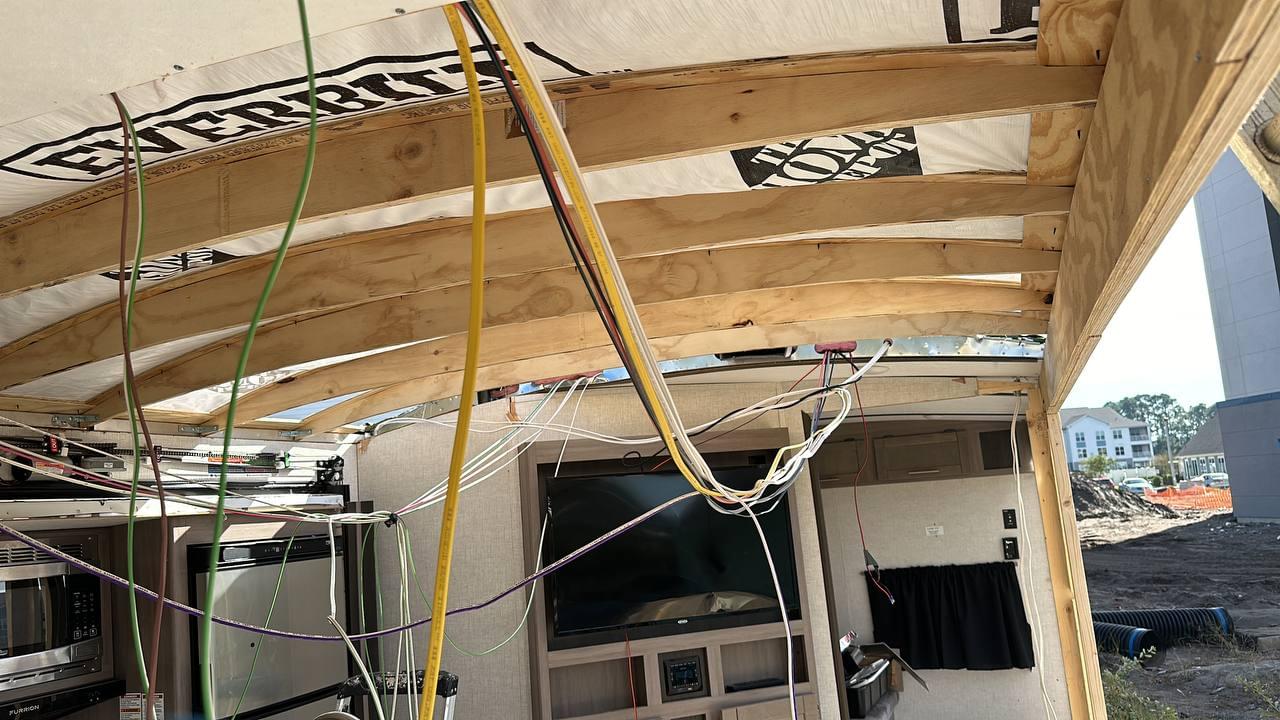
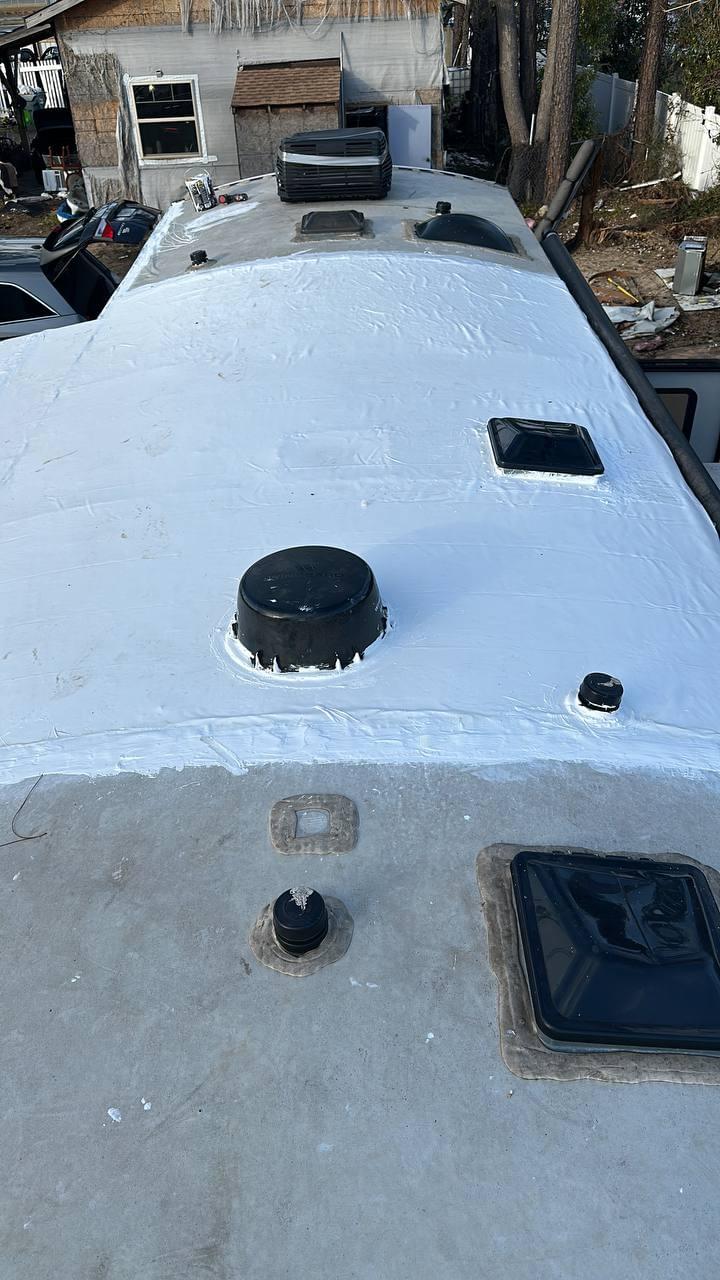
The most challenging task was repairing the roof. For this, I fabricated special trusses that allowed me to restore the damaged part of the roof. Carefully planning each step, I installed the trusses and securely fastened them to ensure the roof's strength and safety. Each truss required creating technological openings to maintain structural integrity. Then, I proceeded to replace the damaged sections of the roof covering and restore its waterproofing.
Structure Restoration:
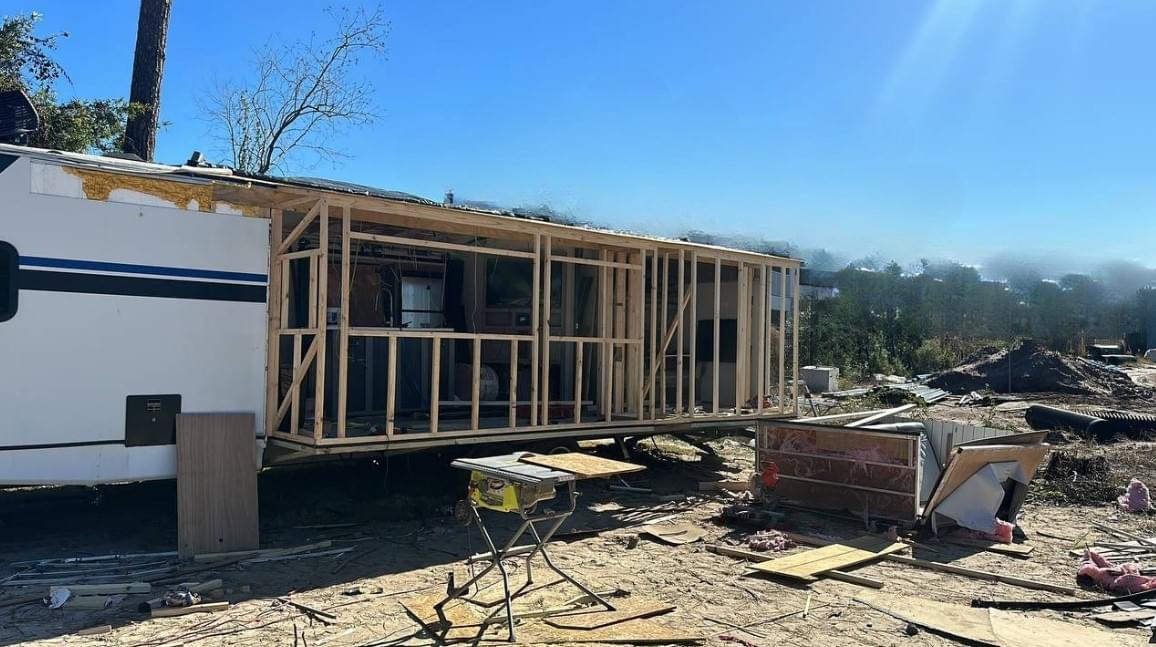
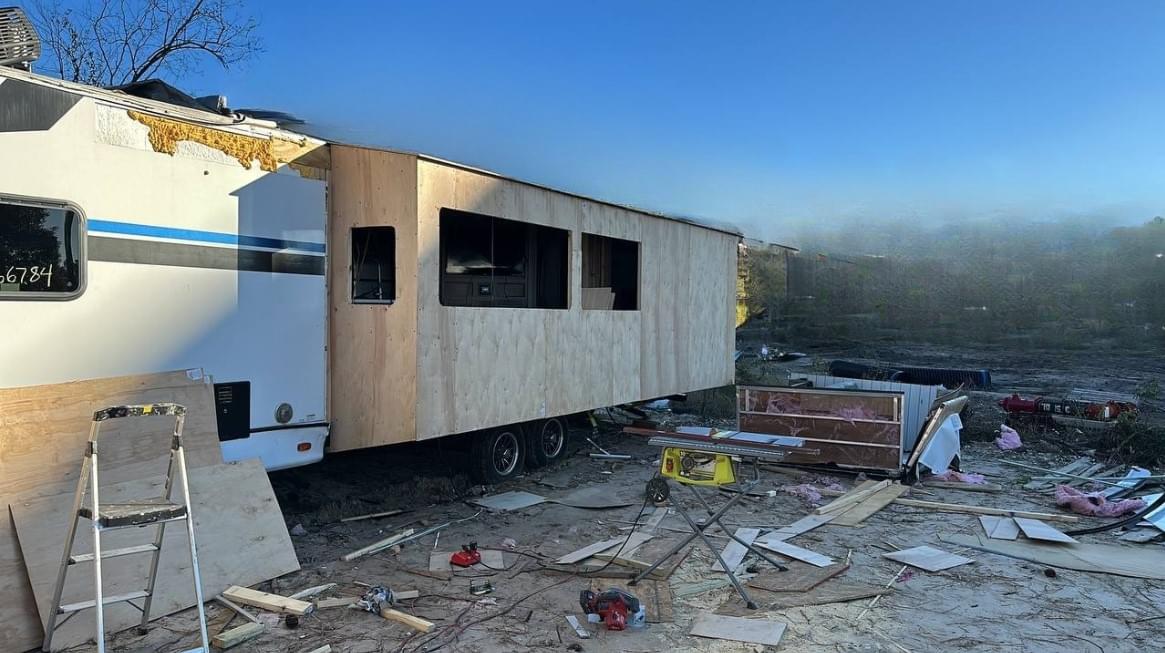
However, the problems were not limited to the roof. Upon closer inspection, partial deformation of the RV's structure was discovered, which created difficulties in restoring the internal geometry. I resolved this issue by installing numerous braces and special brackets to return the walls to their original position. This task was crucial as it determined the placement of all elements both inside and outside the RV. Indeed, it's not surprising that any interior repair requires a similar approach. Correcting the room's geometry took a significant amount of time, as the deformation affected many parts of the RV. Additionally, I conducted an inspection and restoration of the RV's frame to ensure its stability.
Equipment Connection:
Another challenge was that all the wires and air ducts for the air conditioner passed through the roof. To ensure the full functionality of the RV, I created a diagram illustrating the installation and connection of all components. This allowed me to properly connect the equipment and restore its functionality. Furthermore, I replaced the damaged wires and air ducts to ensure a safe and efficient operation of the system.
Completion of Work:
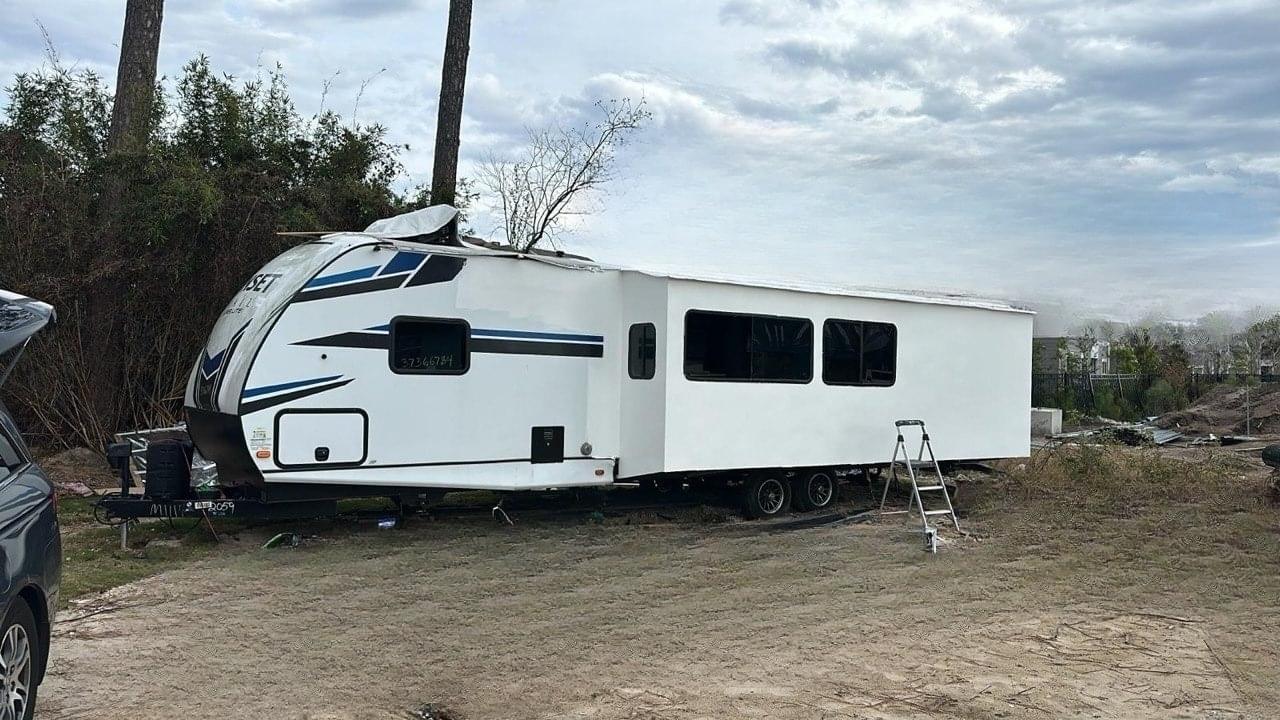
After two weeks of intensive work, the RV was restored and ready for use. I handed it over to the customer, who was pleased with the result. Before handing over the RV, I conducted thorough testing of all systems to ensure their proper functioning. Additionally, a final sanding and painting of the damaged areas were performed to restore the RV's attractive appearance.


Conclusion:
Restoring an RV after significant damages proved to be a challenging and labor-intensive task. Despite having a limited budget and facing unforeseen problems, I was able to successfully restore the RV and achieve a positive result. This experience has provided me with valuable knowledge and skills in the field of restoration and room repairs. It also demonstrated that RV restoration requires a professional approach, careful planning, meticulous work, and adequate resources.
Categories: RV Restoration, Damage Repair, Structure Restoration Tags: #room_repairs, #maintenance, #handyman_services

